Best AI photo editing apps 2026 wasn’t even something I was searching for until I almost ruined my sister’s wedding photos.
I’d spent two hours in a “normal” editor trying to remove a random stranger who photobombed the background of the ceremony shot. Cloning it out by hand made the whole wall look like melted wax. I nearly gave up and just told her the photo was gone.
Then a friend told me to just throw it into an AI photo editing app instead of fighting with manual tools. I was skeptical — I’d tried a couple of AI filters before and they made everyone look like a plastic mannequin. But I was desperate, so I tried it anyway.
It took about eleven seconds. The stranger was gone, the wall looked untouched, and nobody who’s seen that photo since has ever guessed it was edited.
That’s the moment I stopped treating AI photo editors as a gimmick and started actually using them for real work — client photos, my own phone shots, even old scanned family pictures that were falling apart. Since then I’ve tested a stupid number of these apps, wasted money on a few that weren’t worth it, and landed on a shortlist I actually trust. This is that list.
What Actually Makes an AI Photo Editor Worth Using
Before I get into the apps, here’s what I learned the hard way matters more than flashy marketing screenshots.
- Does it keep skin and texture looking real or does it smooth everything into plastic
- Can you undo or adjust the AI’s decision instead of just accepting whatever it spits out
- Does it work on your actual phone photos, not just perfectly lit studio samples
- Is there a genuinely usable free tier, or is every feature locked behind a paywall the second you open it
A lot of apps fail on that first point. I once used a “portrait enhancer” on a photo of my dad and it quietly erased his laugh lines and a scar he’s had since he was a teenager. He noticed immediately and wasn’t thrilled. Lesson learned: not every AI “improvement” is actually an improvement.
My Honest Picks for the Best AI Photo Editing Apps in 2026
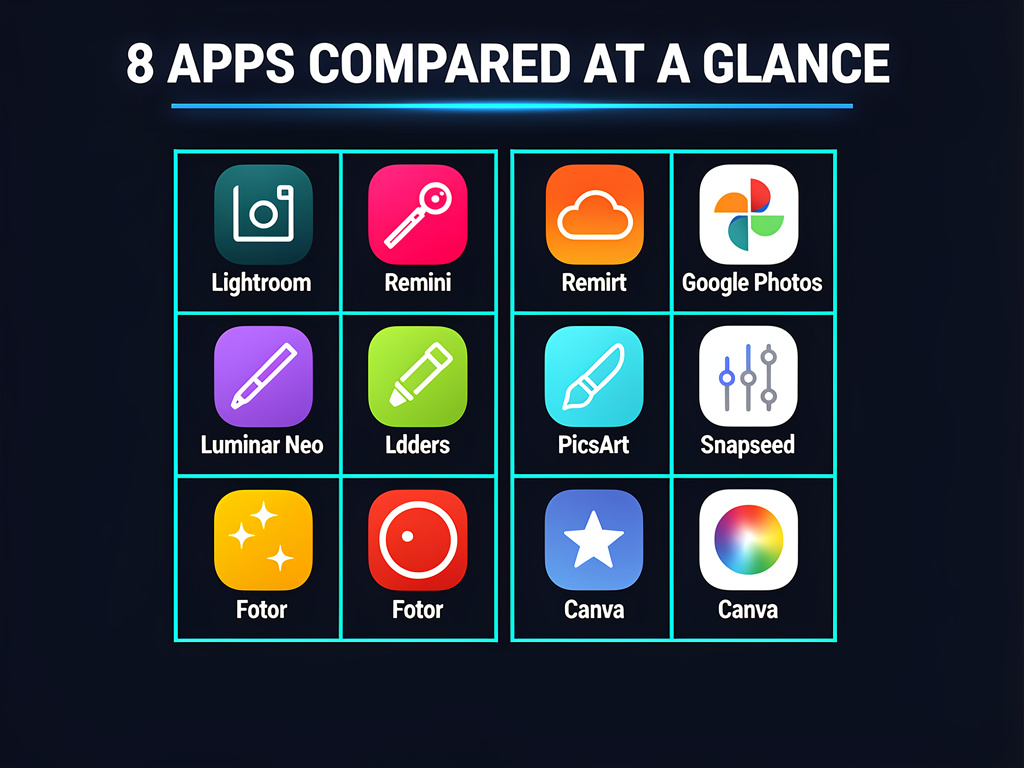
1. Adobe Lightroom (with AI Denoise and Generative Remove)
This is what I reach for first when a photo actually matters. The Generative Remove tool is what saved that wedding photo. It’s genuinely good at understanding what should be behind an object it’s erasing, not just blurring it.
The AI Denoise feature is the other reason I keep this installed — it rescues grainy low-light shots from restaurants and evening events that would otherwise be unusable.
Downside: it’s not free, and the AI credits run out faster than you’d expect if you’re doing a lot of edits in a month.
2. Google Photos (Magic Editor)
I didn’t expect to like this one as much as I do. It’s already on your phone if you’re on Android, and honestly a lot of iPhone users have it too since they use Google Photos for backup.
Magic Editor lets you move a person in the frame, erase clutter, and fix lighting without ever leaving the app you already check every day. I used it to move my nephew from the edge of a group photo into a spot where he wasn’t half cut off — took maybe 20 seconds.
It’s not as precise as Lightroom for tricky edits, but for casual, everyday photos it’s honestly hard to beat because it’s free and already installed.
3. Remini
If you’ve ever seen someone post an old, blurry childhood photo that suddenly looks sharp and clear, there’s a good chance it went through Remini. I used it on a scanned photo of my grandparents from the 1970s that was basically a smudge, and it pulled out detail I genuinely didn’t think was recoverable.
The catch — and I learned this one the annoying way — Remini can over-smooth skin if you’re not careful with the settings on regular portraits. Great for restoration, a bit heavy-handed for everyday selfies.
4. PicsArt AI Photo Editor
This one’s more for people who want to get creative, not just fix mistakes. Background replacement, AI-generated backgrounds, and object removal are all baked in, and it’s genuinely fun to use.
I used it to swap a boring office wall behind a product photo with something that actually looked like a real showroom. Took a few tries to get the lighting to match, but the result held up fine for a small business listing.
5. Luminar Neo
This is the one I’d recommend if you’re a hobbyist photographer who wants more control than a phone app gives you, but doesn’t want to learn full manual editing. The Sky AI and Structure AI tools are legitimately impressive — I replaced a flat, boring sky in a landscape shot and it matched the lighting on the rest of the photo automatically.
It runs a bit heavier on your laptop than the phone apps, so it’s not something I use for quick edits on the go.
6. Snapseed
I still keep this one installed even though it’s older, because it’s free, has no ads shoved in your face, and its “Healing” and “Portrait” tools use AI-assisted processing that’s surprisingly precise for something with zero subscription cost.
It’s less “wow” than the newer apps, but for quick, reliable touch-ups it’s never let me down.
7. Fotor
Fotor’s AI background remover is what I use most when I need something fast for a marketplace listing or a quick social post. It’s not perfect on tricky edges like flyaway hair, but for straightforward product shots it does the job in seconds.
8. Canva’s Magic Studio Photo Tools
If you’re already using Canva for social posts (and if you run any kind of small blog or business page, you probably are), the built-in AI photo tools mean you don’t need to bounce between five different apps. Background remover, Magic Eraser, and Magic Expand cover most everyday needs without leaving your design workflow.
How I Actually Edit a Photo With These Apps (Step by Step)
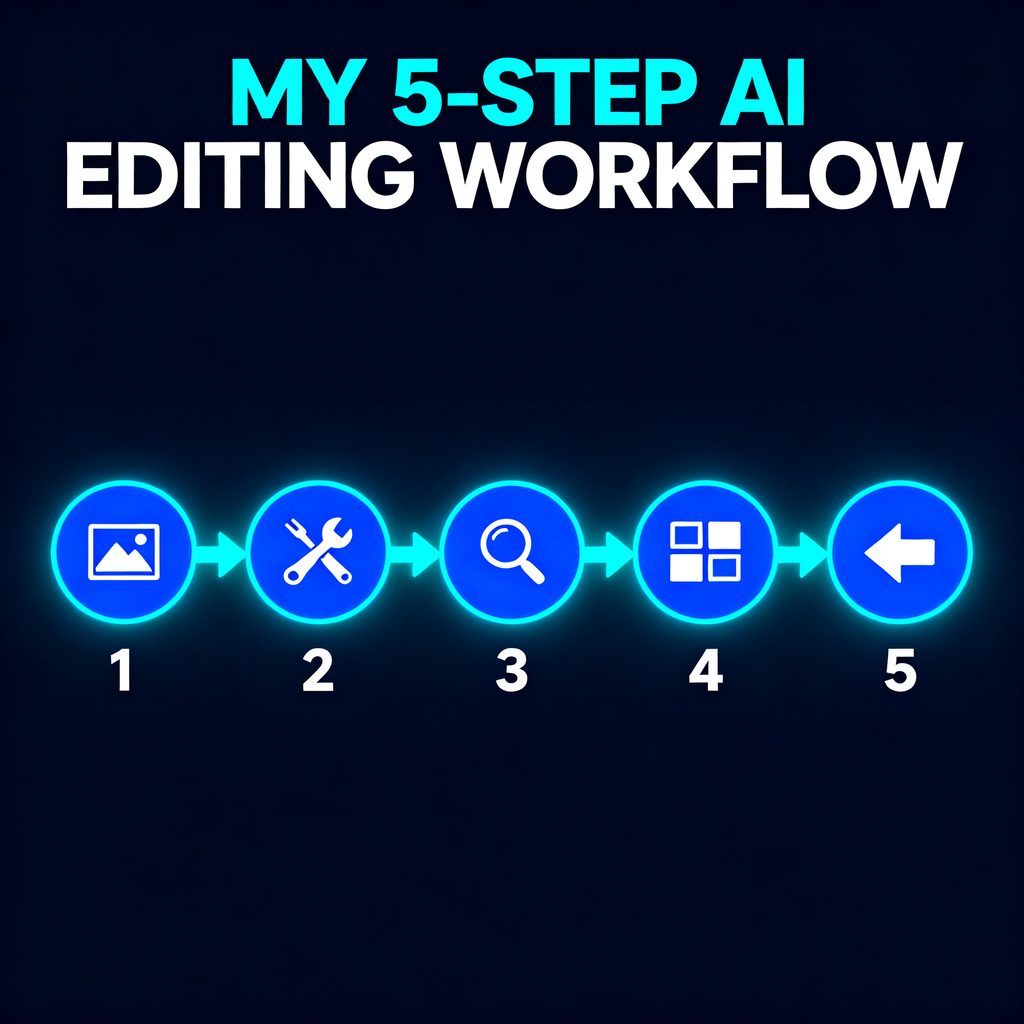
Here’s the process I follow now, roughly every time:
- Start with the least destructive tool. If it’s just a lighting or blur fix, I use Snapseed or Google Photos first.
- Move to Lightroom or Luminar if the edit is complex — removing objects, fixing a busy background, or recovering detail from a dark photo.
- Zoom in on the edited area before saving. AI editors sometimes leave a faint smudge or warped edge that’s only visible at full zoom. I’ve caught weird finger shapes and melted background lines this way more than once.
- Compare it to the original side by side. If a face looks “off” in a way you can’t quite explain, it usually is off. Trust that instinct.
- Export at full resolution, not the app’s default compressed size, especially if the photo is going anywhere important like a listing, a print, or a client delivery.
Mistakes I’d Tell You to Skip
- Don’t run every photo through a “beauty” filter by default. It’s tempting, but it flattens real texture and starts looking fake fast, especially on skin.
- Don’t trust background removal on hair and fur without checking the edges. This is where almost every app still struggles a little.
- Don’t skip saving your original file. I lost an unedited version of a good photo early on because I only kept the AI-edited export, and I couldn’t undo a decision I later disagreed with.
- Don’t assume the priciest app is automatically the best fit. Lightroom is great, but if you’re just cleaning up phone snapshots for Instagram, Google Photos or Snapseed will handle it for free.
A Real Example That Changed My Mind
A friend runs a small candle business and was using flat, badly lit phone photos for her online shop. We ran her product shots through Fotor for background removal, then Luminar Neo to even out the lighting. Nothing fancy, no studio setup. Her click-through rate on the listings noticeably improved within a couple of weeks, and she didn’t spend a cent on a photographer.
That’s really the whole point of these tools. You don’t need expensive gear or editing skills you don’t have time to learn. You need the right app for the specific problem in front of you.
FAQs
Which app on this list is best for beginners?
Google Photos’ Magic Editor. It’s already on your phone, free, and doesn’t require any learning curve.
Can AI photo editing apps damage the original image quality?
Yes, if you over-edit or rely on aggressive smoothing filters. Always keep an unedited backup and zoom in before you save.
Do I need a paid subscription to get good results?
Not necessarily. Snapseed, Google Photos, and the free tiers of PicsArt and Fotor cover most everyday editing needs without paying anything.
Are these apps good for editing old or damaged photos?
Remini is specifically strong here — I’ve used it to restore old family scans that looked unsalvageable.
Is it obvious when a photo has been AI-edited?
It can be, especially around hair, fingers, and busy backgrounds, if you don’t check your edit closely before saving. That’s why the zoom-in check in the steps above matters.
Final Thoughts
I went into AI photo editing apps expecting gimmicks and came out with tools I now use weekly, sometimes daily. None of them are perfect, and a couple of them taught me lessons the annoying way — like my dad’s missing laugh lines. But when you know which app to reach for and what to double check before hitting save, they genuinely save time and rescue photos that would otherwise be a lost cause.
If you’re only going to try one thing from this list today, start with whichever app is already sitting on your phone. You’ll probably be surprised how far it gets you.
For more information, visit: APKSITE1